Domains
Up to 5
You can add up to 5 domains on the free plan.
Getting started
This guide walks you through the basic Uplinkly setup flow: create an account, add your domain, configure nameservers, wait for activation, and generate your first branded short link.
Uplinkly is built around custom domains and branded short links. That means your basic setup starts with account registration and domain connection. Once your domain is active, you can begin creating short links under your own branded URL structure.
Register → open the short links page → add a domain → update NS records at your domain provider → wait until the domain becomes active → return to the short link page and generate your first link.
After registration, you can start working inside the platform. Your main short-link workflow begins on the short links page:
This is the main page where you will eventually generate your branded short links. At the beginning, however, you still need to connect at least one domain before the link creation flow becomes fully usable.

The next step is adding a domain to your workspace. Open the domains page:
On this page, insert the domain you want to use and click Add. After that, Uplinkly will generate the required nameservers for your domain setup.
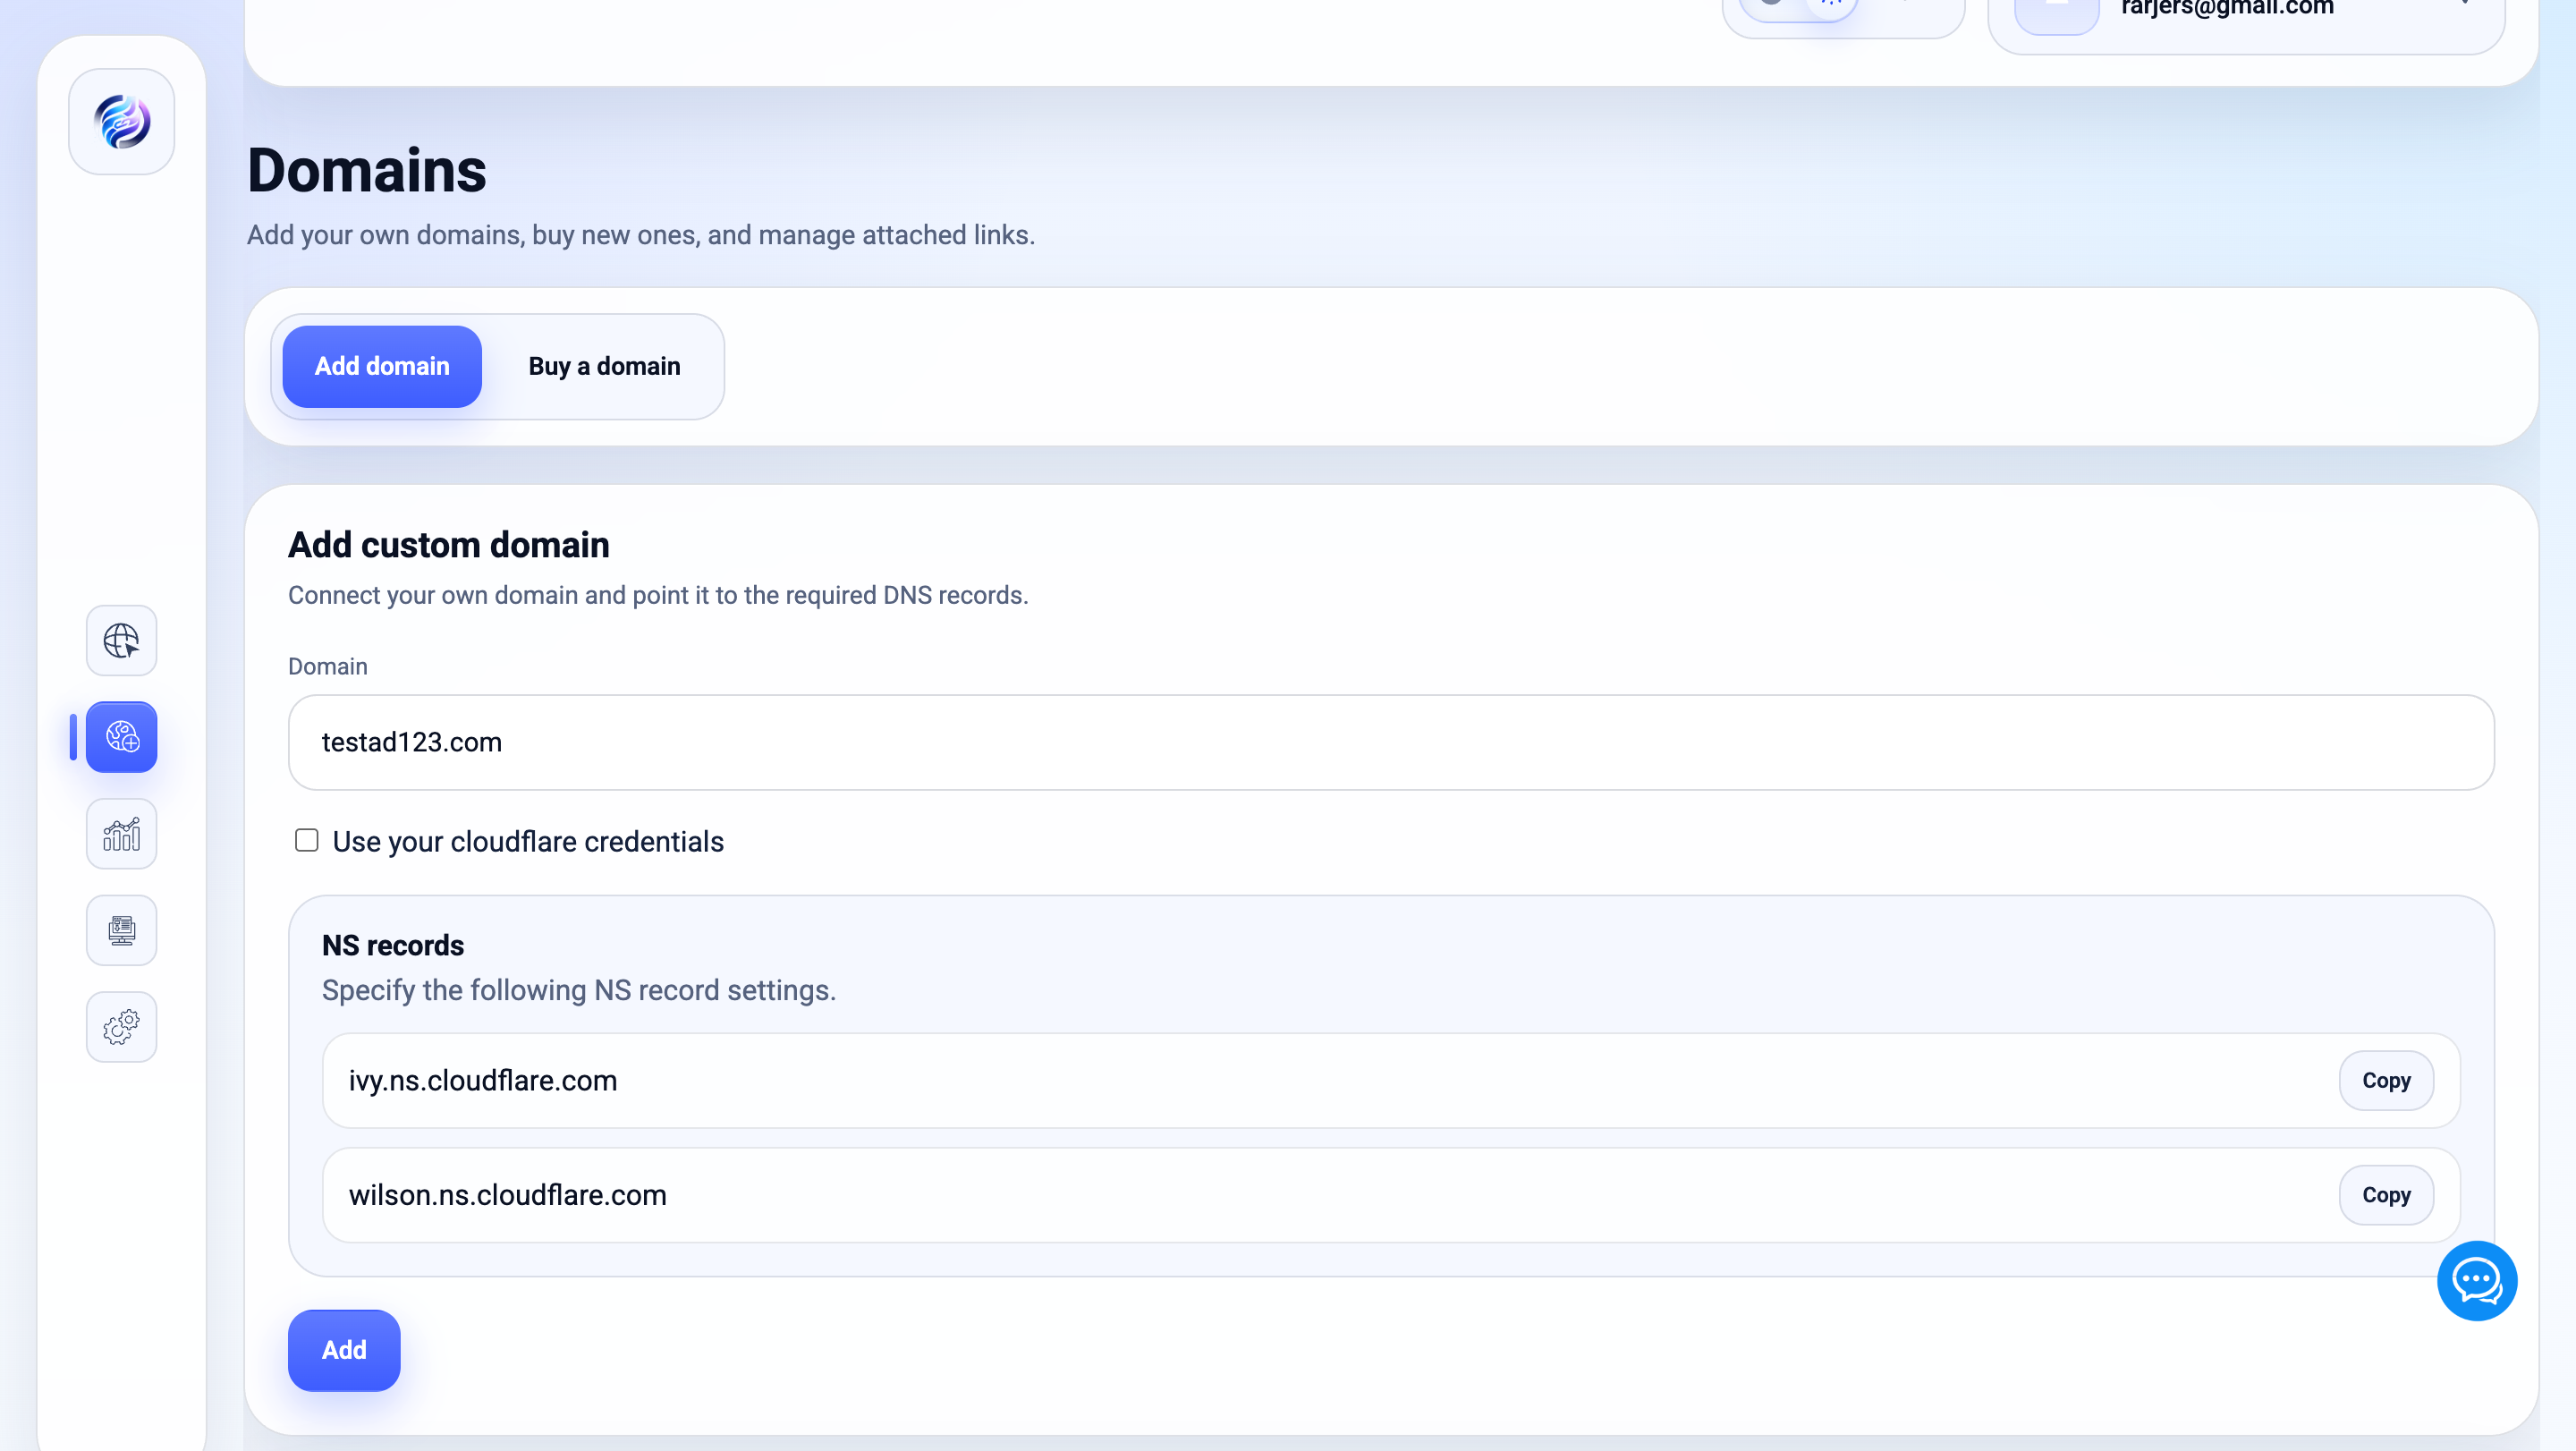
After adding the domain, Uplinkly will return the nameserver records that need to be configured at your domain registrar or provider. Copy those NS records and apply them inside your domain provider account.
This step is required because Uplinkly needs the domain to point to the correct infrastructure before the domain can become active inside the platform.
DNS propagation is not always instant. In most normal cases, the domain status should update in around 15 minutes, but actual timing may vary depending on the provider and DNS propagation behavior.
After you update the nameservers, return to the domains dashboard:
Here you will be able to monitor the domain status. As soon as the domain changes to Active, you can start using it for short links.
Until the domain is active, the system is still waiting for the NS setup to become fully visible and usable.

Once your domain becomes active, go back to the short links page:
On this page, you can create a new short link. Insert your full destination URL, choose the domain that has already become active, and then configure the optional fields if needed.
You can optionally set:
After that, click Generate. Your short link will be created under the selected domain.
Uplinkly includes a free plan so new users can test the platform and build an initial branded link setup before upgrading.
Up to 5
You can add up to 5 domains on the free plan.
Up to 100
You can generate up to 100 short links on the free plan.
If you need more domain slots or unlimited short links, you will need to upgrade your subscription plan.
To learn more about upgrading, open the subscription guide:
Uplinkly also supports domain purchases inside the platform. Domains can be purchased directly through the service using our Namecheap account.
To use this workflow, you need:
If both requirements are met, you can purchase domains directly from inside the platform and continue the setup flow without leaving the service.
In addition to the default platform workflow, Uplinkly also supports user-level integrations for Cloudflare and Namecheap.
This means domain-related actions can be performed using your own provider accounts, but those integrations must be connected first before they can be used.
If you want to use your own Cloudflare or your own Namecheap account for domain workflows, make sure those integrations are added and verified first.